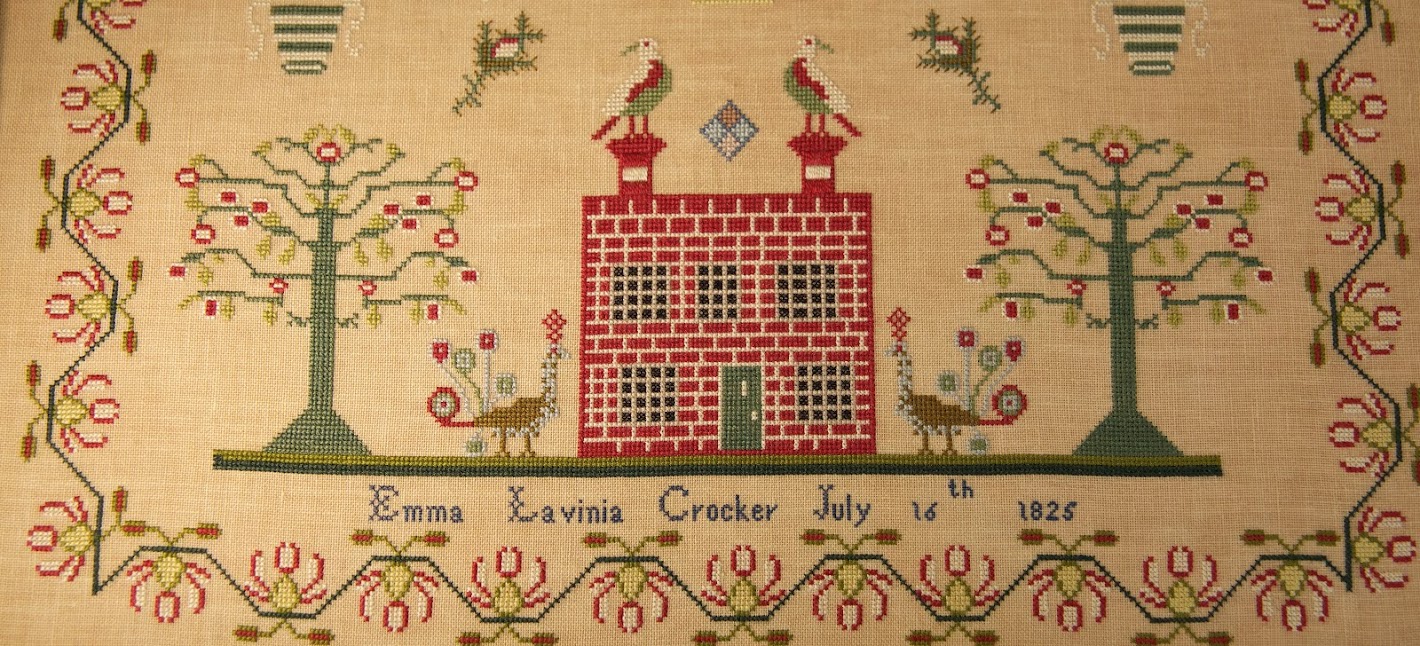
A few weeks ago I asked a group of sampler stitchers - "how do YOU define freehand embroidery within a counted sampler?"
There were lots of replies and varying definitions but one thing that did come across was that many who normally work within the safety of a counted chart are a little apprehensive about venturing into "uncharted territory".
Hands Across the Sea Samplers will shortly be releasing a chart of a beautiful and unusual Scottish sampler that has small freehand motifs. They do not need to be included as the sampler will stand well without them, they could even be cross stitched. However, we want to take the fear out of freehand and for you to be able to stitch these with confidence and enjoyment.
I have designed a small chart and step-by-step photo trail tutorial for you. Whilst this motif has been made up it incorporates all the actual flowers that are freehand stitched in the Scottish sampler. The tutorial uses the stitches found in the orginal sampler.
When I first started stitching a freehand design I was a little nervous of drawing a shape onto my linen. Tracing a design has issues with dimensions in relation to the linen count. Without a guide line it is easy for the embroidery to "grow" out of proportion.
I prefer, where possible, to tack a loose outline with my needle, sketching out the shape in thread. The lines and placement of a motif are easily changed and refined without leaving the fabric marked.
This is the method we have used for our reproduction and within the sampler's chart there are guide lines for the freehand motifs laid out in the same manner as above . There are close up photographs of each of the stitched freehand motifs within the chart.
Using the graph above roughly tack out the stems and one flower head. There is no need to count this out exactly - this is freehand. Listen to your needle, she will guide you.
The sampler's flower stems are made up of short satin stitches but stem stitch would work well if you prefer.
We do not recommend sewing tightly packed stitches to start - they are hard to unpick if your shape is not right.
Travel up the stem spacing the stitches out so that you are getting a feel for the shape.
When you get to the top and you are happy with the shape, work your way back down filling in the stem with the desired coverage. Repeat for the next stem.
I want my stems to curve and not bend in hard angles. To curve my outline I use a couching stitch to lift my loosely tacked line.
See how the shape softens.
Keep repeating the process.
Until all the stems are stitched.
Turn over your work.
Your waste knot and some uncovered tack lines will be showing.
Clip out the visible tack lines and remove the waste knot. There is no need to secure it. Be careful not to clip out the flower head !
Turn your work back over and stitch the stamens on the first flower. All you need are two or more straight satin stitches.
Do not worry about counting out your stitches. Your flowers will be individual, think about the shapes you are hoping to achieve and experiment.
For the third flower I tacked out the shape of the petals first.
I then used the same process for the stems to stitch the flower. Make your stitches a little shorter than those on the stem.
Each of the stamens are formed with a single thread with two passes.
The tips on the orginal sampler are over one cross stitches. Stitch them slightly on the loose side.
The next flower is made up of three steps. First stitch the vertical satin stitches. A single thread with two passes.
Then add the three long horizontal satin stitches and finish with the short diagonal stitches to the outer edges.
The final stem has a row of hanging flowers.
Use a tacking stitch to decide on placement.
Then embroider the flowers with satin stitches.
The last step is to add the leaves. Leave the leaves until last so that they can be shaped to sit well with the flower heads.
Hands Across the Sea Samplers hope that you will stitch this small motif and that it takes the fear out of freehand for you. If you have any questions we are here to help. We would enjoy seeing some photos of your stitched motif.
The Scottish sampler will be released at the end of August and with its autumnal palette will be a perfect project for the Fall.


